
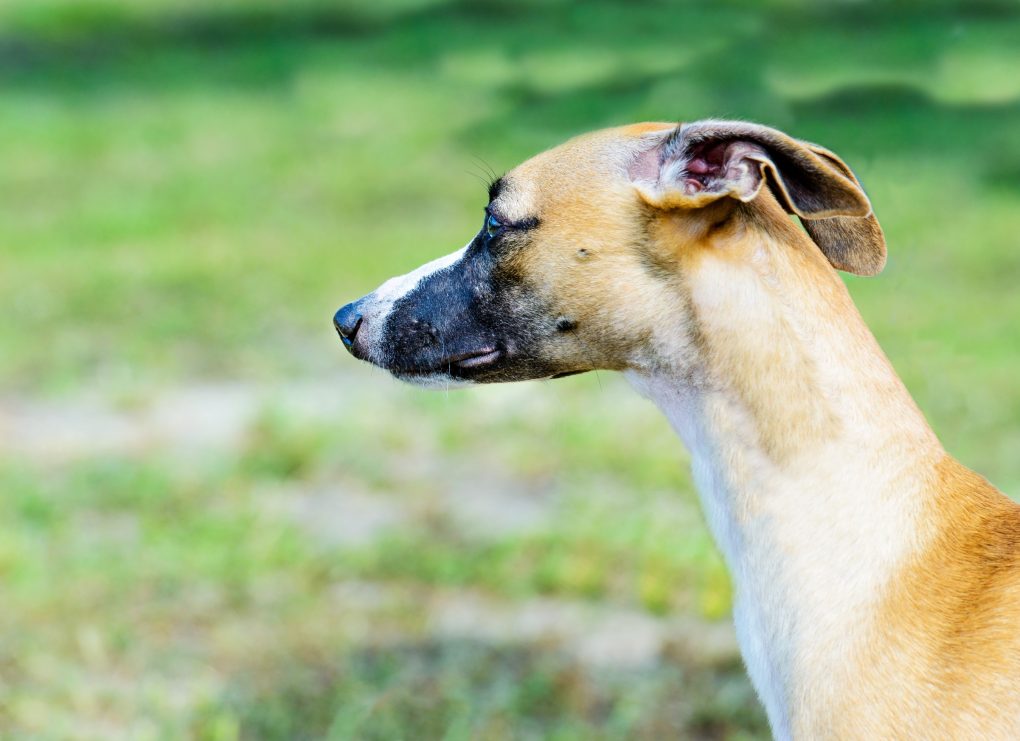
How to Clean a Whippet’s Ears: 7 Simple Steps for Cleaning a Whippet’s Ears
To clean a Whippet’s ears, apply a cleaning solution to the dog’s ear canal, then with your thumb and forefinger, gently massage the base of your Whippet’s ear for a few seconds. Use a cotton ball or gauze to remove any excess cleaning solution and debris from the ear. Be gentle and avoid pushing the cotton ball or gauze too far into the ear canal.
It’s essential to clean your Whippet’s ears regularly to prevent infections and other ear problems. However, avoid over-cleaning, as this can irritate the ear and disrupt the natural balance of oils and bacteria in the ear canal. Consult with your veterinarian if you have concerns about your Whippet’s ear health or if you’re unsure how to clean their ears properly.
Table of Contents
Steps for Cleaning a Whippet’s Ears
1. Prepare Your Supplies
To clean a Whippet’s ears, you will need the following supplies:
- A clean towel: This will be used to dry your Whippet’s ears after cleaning.
- Cotton balls or gauze: These will be used to wipe away excess cleaning solution and debris from your Whippet’s ears.
- An ear cleaning solution: You can find ear cleaning solutions at pet supply stores or your veterinarian’s office. A dog-specific ear-cleaning solution is essential, as human ear-cleaning solutions can be too harsh for a dog’s delicate ear canal.
Please ensure all the supplies are clean and free from bacteria or debris before using them to clean your Whippet’s ears. It’s also a good idea to have your Whippet securely restrained while cleaning their ears to prevent them from moving or shaking their head and to keep them safe.
2. Hold the Ear Flap
It is crucial to hold the ear flap while cleaning the ear to ensure that the ear-cleaning solution reaches the ear properly. This will help ensure the cleaning solution can effectively remove the excess wax. It is also beneficial to gently massage the ear flap while cleaning to facilitate penetration of the ear-cleaning solution.
To hold a Whippet’s ear flap for ear cleaning, start by standing or sitting next to your Whippet so that you are at their head level. Gently lift your Whippet’s ear flap with one hand, and hold it up and away from their head. This will give you access to the ear canal for cleaning.
Hold your Whippet’s ear flap gently but securely to prevent them from moving or shaking their head and to ensure you can clean their ear correctly. If your Whippet is particularly sensitive or doesn’t like cleaning their ears, it may be helpful to have someone else hold them still or distract them with treats or toys during the cleaning process.
3. Apply the Cleaner
Start by preparing your ear cleaning solution and ensuring it’s at room temperature. Gently lift your Whippet’s ear flap and hold it up and away from their head. Hold the ear-cleaning solution bottle in your other hand and apply a few drops directly into the ear canal. Be careful not to insert the dropper too far into the ear canal, which can cause discomfort or injury.
When applying an ear-cleaning solution, it’s essential to do so carefully and gently to avoid causing any discomfort or injury. It’s essential to follow the manufacturer’s instructions when using an ear cleaning solution and to use the correct amount for your Whippet’s ear size. For example, if your Whippet shows any signs of discomfort, pain, or irritation during the cleaning process, stop immediately and consult with your veterinarian.
4. Massage the Base of the Ear
When cleaning your dog’s ears, it is crucial to massage the base of the ear for a few seconds to help loosen debris. Massage the ear near the jaw to help loosen the ear wax and debris inside the ear canal.
Next, massage the base of the ear firmly enough to hear the ear wash swishing around in the canal. This step cleans the ear canal and helps remove any wax or dirt buildup. Massaging the base of the ear should be straightforward so as not to hurt the dog. A gentle massage will help clean the ear canal while keeping your pet safe.
5. Allow Your Dog to Shake Their Head
It’s normal for dogs to shake their head after their ears have been cleaned, as this is their natural way of removing any excess solution or debris that may have been dislodged during the cleaning process. Shaking their head helps remove any loosened debris or excess liquid left in the ear canal after cleaning.
Allowing your dog to shake its head after cleaning its ears can help to ensure that their ears are thoroughly cleaned and free from any debris or excess solution, which can help to prevent infections and other ear-related health issues. However, keeping your dog away from any furniture, walls, or objects the shaking could damage is essential.
It’s also important to note that excessive head shaking or scratching of the ears can indicate an underlying ear problem, such as an infection or ear mites. If you notice your dog shaking their head excessively, scratching their ears, or showing other signs of ear discomfort, consult your veterinarian for proper diagnosis and treatment.
6. Wipe Out the Ear
To wipe a dog’s ear for cleaning, start by choosing a soft and clean cloth or cotton ball to wipe your dog’s ear. Avoid using cotton swabs, which can push debris further into the ear canal and cause damage. Instead, gently hold your dog’s ear flap and use a cloth or cotton ball to wipe the inside of the ear.
Start from the base of the ear and work your way up to the ear canal, using a gentle circular motion to remove any visible dirt or debris. Be careful not to push the cloth or cotton ball too far into the ear canal, which can cause discomfort or injury to your dog’s ear. Use a fresh cloth or cotton ball for each ear to avoid spreading any infection or debris from one ear to the other.
If you notice any discharge or debris, repeat the cleaning process until the ear is clean. After wiping the ear, let your dog shake its head to help remove any excess solution or debris from the ear canal.
7. Repeat As Needed
Repeating dog ear cleaning as needed is crucial to ensure your dog’s ears are completely clean and free from debris or buildup. Not cleaning your dog’s ears regularly can accumulate wax, dirt, and other debris, creating a breeding ground for bacteria and other microorganisms.
If left unchecked, these microorganisms can cause an ear infection, which can be painful and uncomfortable for your dog. Symptoms of an ear infection in dogs may include head shaking, scratching or rubbing at the ears, redness, discharge or foul odor from the ears, and loss of balance or coordination. By cleaning your dog’s ears regularly and thoroughly, you can help prevent ear-related health issues.